Opening the door on dull glass and greasy racks can make even confident home cooks hesitate at first. The mess looks stubborn, the scrubbing feels endless, and harsh fumes are the last thing you want. Yet one small dishwasher tablet quietly changes everything when you use it with a simple, thoughtful method. It loosens baked-on grease, lifts stains, and leaves your oven clear and ready for your next easy meal.
Why dishwasher tablets cut through baked-on grime
Grease bonds to metal and glass as heat drives off moisture, then sugars carbonize. Surfactants inside dishwasher tablets disrupt that bond while mild abrasives lift the crust. Because the detergent disperses oils, residue wipes away rather than smearing. The balance matters, since hard scouring alone scratches surfaces.
Before anything, check the label. Skip tablets with chlorine bleach, because fumes can linger and risk exposure when you reheat later. Bleach also reacts dangerously with ammonia, hydrogen peroxide, or acids such as vinegar. Keep chemistry simple, which keeps the process safe inside the oven cavity and around the door glass.
Plan your work area. Open a window if possible, then gather gear so every hand motion counts.
You need, in order:
- rubber gloves
- dishwasher tablets
- a bowl of warm water
- microfiber cloths
- an old towel
- aluminum foil
- a plastic scraper
- a dustpan.
A tidy setup speeds cleaning and reduces mess.
Preparation checklist and safety for the oven task
Good preparation shortens the actual scrubbing. Slip on gloves, then remove crumbs and loose flakes with a plastic scraper and a dustpan; a vacuum works too. Clearing debris first prevents grinding grit into enamel. It also exposes the real stains, so the tablet attacks only what remains.
Next, set protection. Line the bathtub with an old towel to avoid scuffs, because metal racks can mark the surface. Keep a bowl of warm water nearby for the tablet pre-soak, and a separate stack of clean microfiber cloths. Place the foil roll within reach. The sequence matters inside the oven and outside it.
Mind airflow while avoiding strong chemicals. Since you will apply light pressure for a while, keep a window cracked and the room calm. Avoid mixing cleaners; stick with the tablet and mild soapy water. This restraint prevents harmful reactions. It also keeps scents neutral, so food won’t pick up odors later.
Soak-and-foil method for racks, as Finish recommends
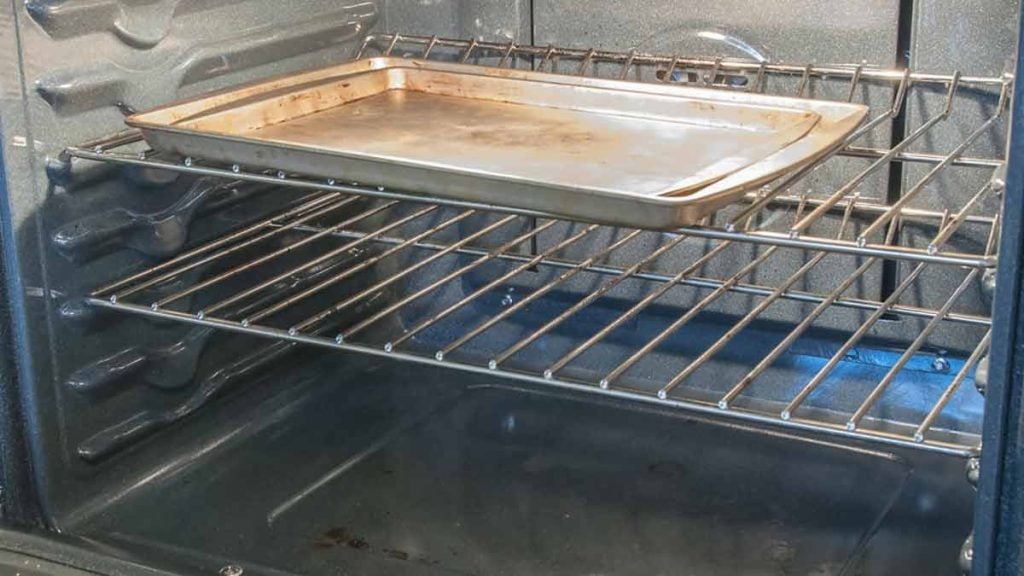
Treat the racks first, because they take time to soak while you handle other steps. Lay an old towel flat in the tub; it cushions and reduces noise. Remove the racks, wrap each in aluminum foil, then submerge them in hot water. Drop in one tablet and let the magic begin in the oven’s metal companions.
Time does the heavy lifting now. Allow two to three hours, as the manufacturer Finish suggests, so detergent penetrates cooked-on grease. The foil creates micro-bubbles that amplify lift while protecting the metal. Because the tablet dissolves gradually, the solution stays active. Meanwhile, you can address the cavity and door.
When the soak ends, unwrap carefully. Residue should wipe off with a sponge, leaving bright metal. Rinse with clean water to remove detergent film, then dry thoroughly with a towel. Set the racks aside for reassembly. Handling them now avoids drips on clean enamel and keeps momentum steady from one step to the next.
Scrub the oven interior and door the right way
Moisten a cloth with warm water, then wipe the walls and floor to soften film. Pre-soak a tablet briefly so its coating loosens, yet the core stays firm. Press the tablet face to a stain and use small circles. Because the abrasive is gentle, enamel stays safe while the oven residue loosens.
Work methodically from the back forward. Refresh the tablet face as it smooths, then switch sides or grab a new one. After stains lift, pass a damp microfiber over every surface to pick up detergent. Rinse the cloth often, which avoids streaks. A final wipe leaves a clean, neutral surface ready for heat.
Turn to the glass. Use a fresh tablet to scour the pane until spots vanish, then wipe with a clean, damp cloth until the glass looks clear. Run a soapy cloth along the edges and hinge side, where grease collects. Stubborn dots respond to brief tablet pressure, followed by a quick rinse.
Rinse, dry, and reassemble for a streak-free shine
Finish strong with details that preserve results. Give the cavity a last damp pass to remove any trace of suds; leftover film can haze. Slide the dry racks back onto their rails. Leave the door slightly open, so airflow helps every surface dry. A calm finish keeps the oven gleam streak-free.
Set a rhythm so grime never wins. Occasional bakers can clean once a season, roughly every three months. Frequent cooks benefit from a monthly routine. Because spills smoke when reheated, wipe them after the unit cools, not later. Less char means less odor and fewer irritants released into air during preheating.
Store a tablet sleeve with the cleaning kit. The single-tool approach encourages follow-through, while microfiber cloths guard surfaces. Keep a plastic scraper handy for solid bits; skip steel wool. Over time, this light touch protects enamel and glass. Because habits save work, the whole process becomes quicker, and the shine lasts.
Keep the shine without harsh shortcuts that backfire later
You now have a simple plan that respects surfaces, avoids risky reactions, and delivers a clear view through spotless glass. Because the oven looks clean, cooking feels better and smoke stays away. Maintain the cadence you chose, wipe fresh spills after cooling, and enjoy easier sessions that end with a bright, grease-free interior.